
Phenology
Invasive Species
Tulip Gardens
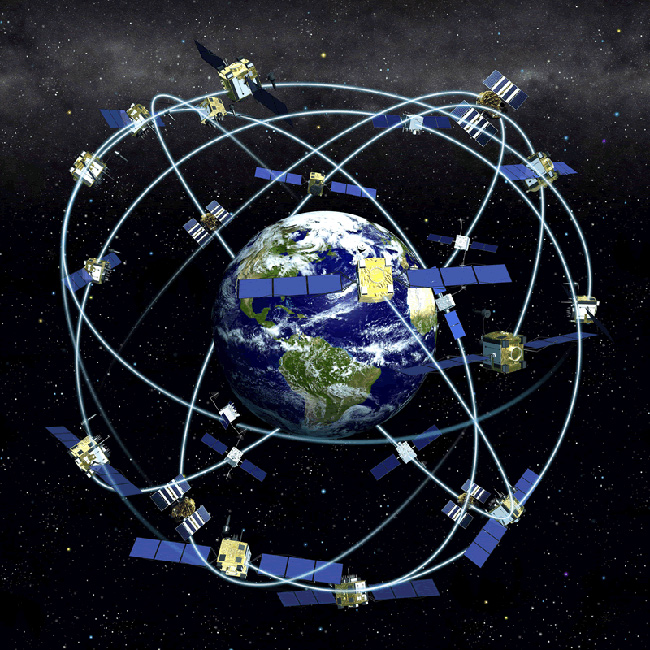
GPS
Introduction to GPS
Using a GPS Unit
GPS units can have steep learning curves, and knowing how to use a GPS unit before going out in the field is key to
obtaining accurate readings. All units are different, and with increasing technology come units that are easier to use. These instructions are general, and apply most directly to the Garmin eTrex Legend GPS unit.
Basic buttons of a GPS unit
- POWER - turns the unit on and off
- PAGE - moves through screens and helps get to different applications
- UP/DOWN - Moves through menus and options, and can increase or decrease settings like light level or volume
- ENTER - selects an option and can open a highlighted menu
Screens on a GPS unit
Most GPS units have 5 main screens and you can move between them with the page button
- Shows the signal accuracy, the number of satellites with which the unit is communicating, the signal strength for each satellite, and the location coordinates for the unit
- Shows the current position on a map with an arrow pointing north
- Tracks movement with a trail
- Allows you to view the location of waypoints (marked locations) and see the direction in which you need to travel to reach a point
- Options:
- UP button allows you to zoom out
- DOWN button allows you to zoom in
Navigation screen
The top of the compass shows the direction in which you are traveling (heading)
The arrow shows the direction in which you need to travel to get to a waypoint (bearing)
and the distance to the point.
UP/DOWN buttons allow you to flip through display options:
- Location
- Sunrise
- Sunset
- Trip time
- Trip odometer
- Speed
- Average speed
- Maximum speed
- Heading
- Bearing
- Elevation
Scroll through the menu with the UP/DOWN buttons and push ENTER to open an option
Options:
- Mark:
- Mark a waypoint
- See current fixed location for recording purposes
- Enter a GPS coordinate to navigate to
- Find:
- Quick access to waypoint navigation
- Waypoint:
- View, delete, or navigate to a waypoint
NOTE: think of waypoints as visual markers on a landscape; you can navigate to them or use them as positions of reference - Route:
- Make a route of travel with waypoints
- Tracks:
- Clear, save, or open previous paths of travel
NOTE: tracks are continually logged while a GPS unit is on and has an accurate reading, like automatically dropping breadcrumbs - Setup:
- Change the time format
- Change the display contrast to make the screen easier to read
- Change the GPS units of measurement (see Types of Data below)
- Position format
- Map Datum
- Units
- North Reference
- Interface allows you to change the GPS data exchange formats if you are using cables to connect your GPS with another unit (e.g. computer)
- System allows you to see the unit's software
Coordinate Systems are different formats used for recording a location. There are four major Coordinate Systems that GPS units use:
- Degree decimal (e.g. dd.dddd N)
- Degree minute second (e.g. dd dd'dd.ddd"N)
- UTM (e.g. meters from the Equator, meters from the center of your UTM zone)
- Minute decimal (e.g. dd dd.ddd)
- NAD 27
- NAD 83
- WGS 84
Image Source: National Oceanic and Atmospheric Administration; http://celebrating200years.noaa.gov/